
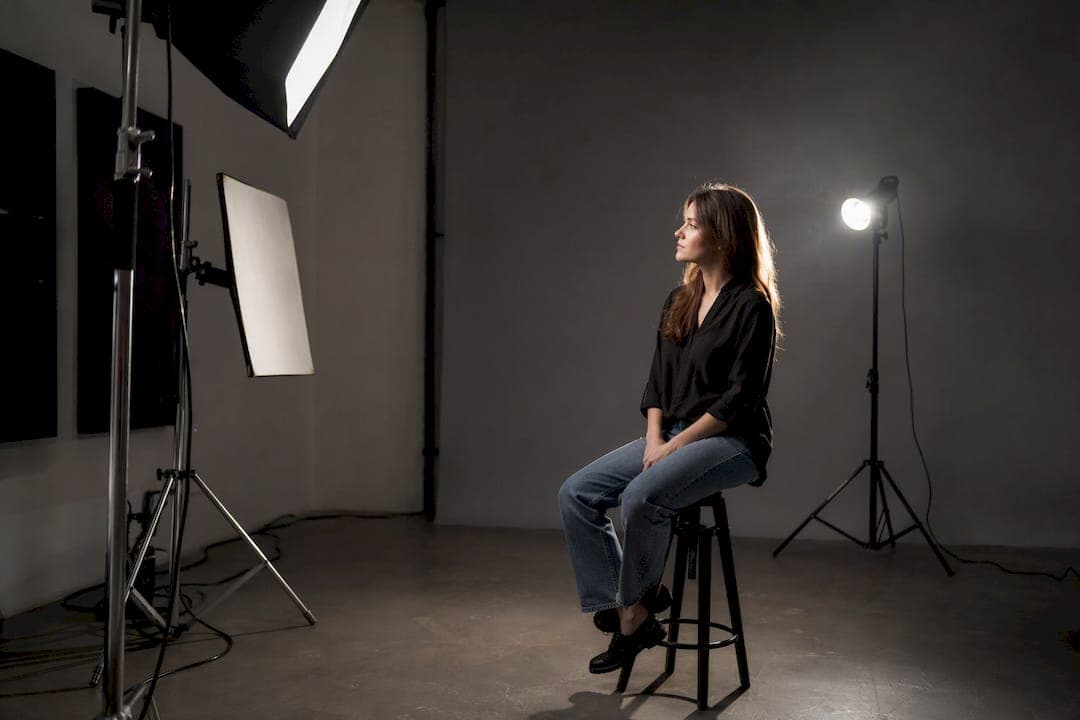
Start every commercial set from a three-point baseline, then choose your source type based on the deliverable. If you need hybrid photo and video from the same shoot, favor a high-output continuous LED for the key; if you need to freeze motion or overpower daylight through a window, bring a strobe. Two factors decide everything else: how the light quality reads on skin or product, and whether your source has the output headroom for the room you're in. MINIM's producer, Steven Reina, runs this exact checklist before any lighting-heavy call sheet gets approved.
TL;DR:
- Continuous LED fixtures in the 400W to 1200W range are now sufficiently powerful for interior commercial work, reducing the need for strobes in many cases.
- A standard three-point lighting setup with key, fill, and rim remains the industry norm, with ratios of 2:1 or 3:1 producing natural-looking images.
- Light quality depends on the apparent source size, with softboxes and diffusion frames providing soft light and grids or reflectors used for controlled or directional effects.
- Replacing strobe power with larger, diffused continuous sources can deliver consistent results across multiple camera positions and shot variations.
- Coordinating lighting planning during pre-production improves shot-to-shot consistency and efficiency, especially when managing multiple deliverables within tight schedules.
Table of Contents
- Core Studio Lighting Setups for Commercials
- Shaping Soft Light Versus Hard Light
- Continuous LED or Strobe: Which Wins on a Hybrid Set?
- Practical Studio Lighting Recipes for Commercial Shoots
- Controlling Reflections on Shiny Product Surfaces
- Budgeting Studio Lighting: What to Rent, What to Buy
- Practitioner Notes From MINIM's Production Floor
- Safety and Electrical Considerations on Set
- Using Light Meters for Precise Commercial Lighting
- Lighting for Fashion, Food, and Automotive Commercials
- Shaping Shadows and Highlights for Commercial Impact
- What Most Lighting Advice Gets Backwards
- When to Bring in a Production Partner for Lighting-Heavy Shoots
- Sources
Core Studio Lighting Setups for Commercials
Every commercial lighting setup still traces back to one structure: key, fill, and rim. The key light establishes exposure and direction, usually placed 30 to 45 degrees off-axis from the subject and slightly above eye level. The fill softens the shadow the key creates, typically at a lower intensity and a wider angle, sometimes replaced entirely by a bounce card on tighter budgets. The rim or back light separates the subject from the background, a job that becomes critical the moment you're shooting on a dark set or matching skin tones against a busy backdrop. This three-light structure remains the industry standard for complete scene control on commercial sets, and for good reason: it gives you independent control over exposure, contrast, and separation without touching camera settings.
High-key commercials (bright, minimal shadow, common in beauty and tech spots) usually add a fourth light aimed directly at the background to blow it to pure white. Low-key work drops the fill almost entirely and lets the rim do the separating.
A few checks keep the setup honest:
- Key-to-fill ratio of 2:1 or 3:1 reads as natural on camera; anything past 4:1 starts looking like deliberate drama.
- If the image reads flat, the fill is usually too close in output to the key, not the key itself.
- If shadows look muddy or double-edged, you've got two lights doing the same job from similar angles.
- Background looking gray instead of white almost always means the background light is underpowered relative to the key.
Pro Tip: When a shot reads flat on the monitor, kill the fill entirely for ten seconds. If the image suddenly looks better, your fill was fighting the key instead of supporting it.
Shaping Soft Light Versus Hard Light
Light quality comes down to one physical relationship: apparent source size relative to the subject. A large source placed close produces soft light with a gradual shadow transition; a small or distant source produces hard light with a sharp, defined edge. This is why a bare bulb ten feet away throws harsher shadows than the same bulb inside a 4x4 softbox two feet from the subject; size and distance, not wattage, drive softness.
The modifier you choose is really a decision about that relationship:
- Softboxes (2x3 to 4x6) are the default for beauty and product work where you want flattering falloff without losing shape.
- Diffusion frames (12x12 or 20x20 silk) placed further from the light but close to the subject scatter a much larger area, ideal for hybrid photo and video setups.
- Grids tighten a source's spread without softening it, useful for controlled rim light that won't spill onto the background.
- Reflectors (white, silver, gold) bounce existing key light back into shadow areas cheaply, though they offer less precision than a dedicated fill.
Gels shift the conversation from technical to tonal. A quarter CTO on a rim light warms up an otherwise clinical product shot; a saturated color gel on a background light turns a plain cyc wall into a branded mood piece. This decision is as much about the client's brand palette as it is about physics; the choice between hard and soft light is often an artistic one tied to how aggressive or approachable the brand wants to look.
Run this test before you commit to a modifier: move it one to two stops closer to the subject and watch the shadow edge. If it softens noticeably, you were farther from optimal softness than you thought. If nothing changes, you've hit the point of diminishing returns and should look at a bigger modifier instead of a closer one.
Continuous LED or Strobe: Which Wins on a Hybrid Set?
The output threshold matters more than brand loyalty here. Professional-grade continuous LEDs in the 400W to 1200W range and above are now genuinely viable for controlled interior commercial work, which changes the calculus for any shoot that needs stills and motion from the same setup.
The workflow case for continuous is straightforward:
- What you see on the monitor is what you get in the frame, cutting review-and-adjust cycles that strobes require.
- One lighting setup serves both photo and video deliverables, which speeds hybrid production considerably when a client wants social cutdowns alongside hero stills.
- Talent and crew see consistent light throughout the day instead of the flash-then-dark rhythm of strobe work.
Strobes still win in specific scenarios: freezing fast motion (splashes, fabric movement, automotive spins), overpowering direct sun on location, or when you need far more output than any continuous fixture can deliver in a small footprint. High-speed sync extends strobe usefulness outdoors but comes with a real power penalty.
The compromise most pro sets land on: a large, heavily diffused LED for broad wrap-around light across the whole scene, with a strobe added only if a specific area needs an extra stop the LED can't supply.
Practical Studio Lighting Recipes for Commercial Shoots
Recipes translate theory into a call sheet crews can execute without relitigating physics on set.
- Natural-feeling commercial dialogue scene. Key light through a 4x6 softbox at 45 degrees, output set for a 2:1 ratio against a bounce fill. Add a kicker (a narrow, unmodified light) from behind at low output to separate the subject's shoulder line from the background. Treat the background with its own light source, gelled slightly warm, kept a full stop under the key so it recedes rather than competes.
- Product on white background. Two lights aimed directly at a white sweep or cyc, set to blow the background past pure white on your histogram, which eliminates the subject's cast shadow entirely, a technique standard in e-commerce product photography. Add a cross-light from the side opposite the key to carve dimension into the product without creating a second visible shadow. Feather the key rather than aiming it directly for a cleaner edge.
- Commercial headshot or portrait. A single large beauty dish or octabox as key, positioned slightly above and angled down at roughly 15 degrees to create a butterfly shadow under the nose. Hair or rim light gridded tightly to avoid flare. Position the key close enough that its catchlight sits at ten or eleven o'clock in the eye, which reads as flattering across nearly every skin tone.
Before rolling, check exposure at your target aperture (commonly f/5.6 to f/8 for product, f/2.8 to f/4 for portrait-style commercial work), confirm the histogram isn't clipping on skin or product highlights, and walk the set edge-to-edge checking for stray shadows the monitor's small preview might hide.
Pro Tip: Photograph a gray card under your final lighting setup before the talent or product arrives. It gives you an instant reference for color correction if anything shifts later in the day.
Controlling Reflections on Shiny Product Surfaces
Shiny surfaces (glass, chrome, polished metal, glossy packaging) punish sloppy lighting instantly. The first fix is almost always angle of incidence: moving the light or camera a few degrees changes where the reflection lands, often solving the problem faster than adding another modifier.
- Adjust the light's angle relative to the surface until the specular hotspot moves off the area the camera sees.
- Cross-polarizing (a polarizing filter on the light paired with one on the lens, rotated to cancel each other) kills reflections that angle adjustment alone can't fix, a standard technique for commercial reflection control.
- Large diffusion panels placed just out of frame soften hard reflections into a broad, controlled highlight instead of a blown hotspot.
- Black flags or gobos placed opposite the key absorb spill that would otherwise bounce back into the reflective surface.
Shoot a color checker chart under final lighting and lock white balance manually rather than relying on auto white balance, especially when mixing tungsten, daylight LED, and window light on the same set. That single step saves hours of inconsistent color matching in post.
Budgeting Studio Lighting: What to Rent, What to Buy
The clearest trend right now is the growing case for buying into higher-output continuous LEDs rather than renting strobes for every job. As fixture output climbs, more interior commercial work becomes shootable with LEDs alone, and that narrows the gap between continuous and flash for a meaningful slice of studio work.
- Rent for one-off high-output needs (overpowering sun, large cyc walls, specialty modifiers you'll use once a year).
- Buy your core key and fill fixtures if you're running three or more shoots a month, since rental fees compound fast at that frequency.
- Continuous lighting typically needs fewer grip staff to manage cable runs and pack changes compared with multi-head strobe rigs, which shows up directly in day-rate math.
- A simple rubric: if a fixture pays for itself in avoided rental fees within roughly ten to fifteen shoot days, buy it; otherwise, rent. Full budget breakdowns for commercial video show how lighting choices ripple into overall production cost.
Practitioner Notes From MINIM's Production Floor
Steven Reina, who oversees production execution at MINIM, treats lighting decisions as scheduling decisions first and aesthetic decisions second. A three-point setup that takes forty minutes to rebuild between a wide shot and a close-up isn't a lighting problem, it's a shot-list problem, and it usually gets solved before the crew ever loads in.
On multi-deliverable shoots where a client wants hero stills, social video, and behind-the-scenes footage from one call day, the lighting has to survive every camera move without a full reset. That's the real test of a setup, not how it looks in a single frame.
That standard shapes how MINIM plans lighting-heavy productions: broad, diffused continuous sources anchor the base look, with smaller accent lights added or pulled as the camera repositions rather than rebuilding the rig from scratch. Integrating that decision with agency art direction happens early, during shot list planning, not on the day, because a lighting setup that photographs beautifully but can't hit a tight schedule creates more problems than it solves.
Safety and Electrical Considerations on Set
Studio lighting draws real power, and commercial sets routinely run multiple 1,000 to 2,000 watt fixtures off circuits that weren't designed for that load. Map your circuits before load-in. A standard 15 or 20 amp household circuit in the US can trip or, worse, overheat if you stack several high-draw fixtures on one line without checking amperage first.
Cable management matters as much as the lights themselves. Run cables along walls or tape them flat across walkways, never leave a coiled cable near a hot fixture, and keep water (craft services, misting rigs for beverage shots) well clear of any power distribution. Sandbag every light stand, especially C-stands holding flags or floppy overhead, since a stand tipping onto talent or a camera operator is one of the most common on-set injuries.
For larger builds, a licensed gaffer or dedicated electrician should handle distro boxes and generator tie-ins rather than leaving it to whoever's free. Fixtures running hot (especially older tungsten units) need clearance from set dressing, foam core, and fabric, all of which can scorch or ignite faster than most crews expect. Fire extinguishers rated for electrical fires belong on set, not in a truck three floors down.
Using Light Meters for Precise Commercial Lighting
A light meter takes the guesswork out of matching ratios across a multi-light setup, and most working DPs still carry one even with a reliable camera monitor in front of them. An incident meter, held at the subject's position and pointed back toward each light individually, tells you the exact output of your key versus your fill in stops, which is far more reliable than eyeballing two monitor images side by side.
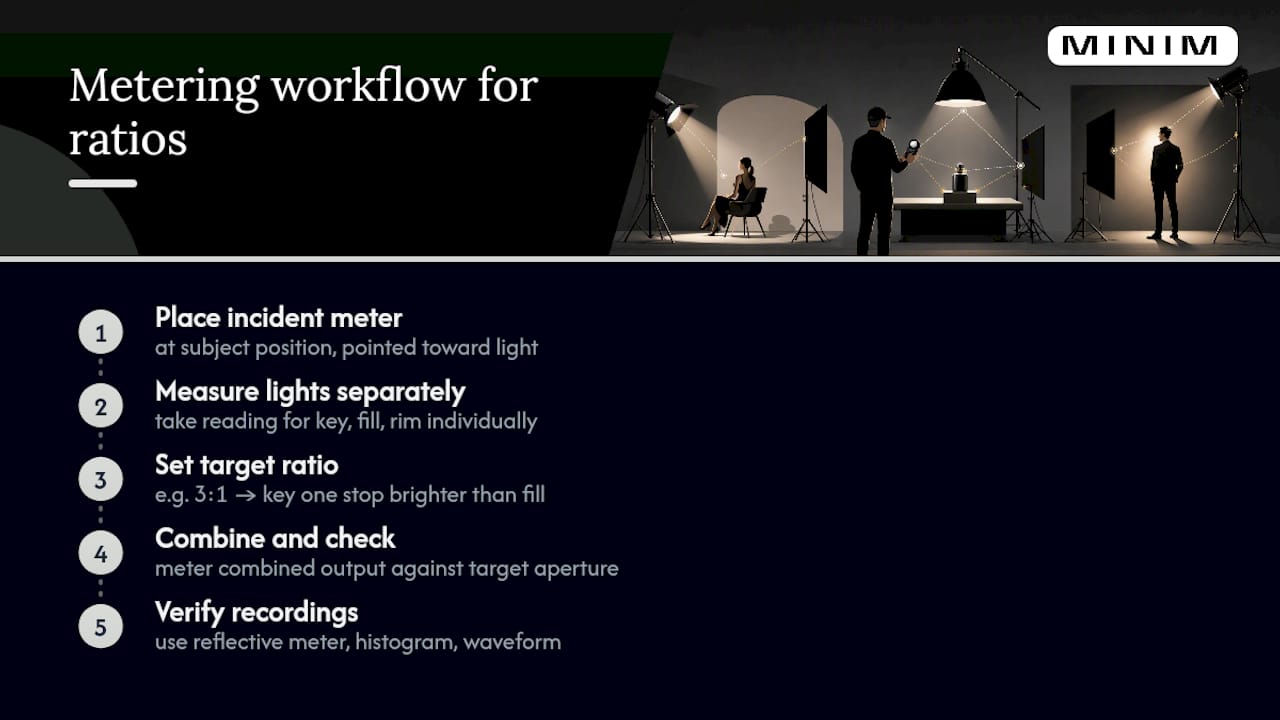
Take a reading at the subject for each light source separately before combining them, then check the combined reading against your target aperture. If you're building a 3:1 ratio, your key should read one full stop brighter than your fill when metered independently.
Reflective meters and the camera's own histogram serve a different purpose: confirming what the sensor actually records, including any clipping in highlights the incident meter can't detect. Use both. Meter for ratio and exposure with an incident reading, then verify against the histogram for any surface that reflects more or less light than the average render, glossy product packaging especially. Waveform monitors add another layer of precision for video-heavy shoots, letting a DP confirm skin tone luminance values stay within a broadcast-safe range across every setup change during the day.
Lighting for Fashion, Food, and Automotive Commercials
The three-point baseline holds across categories, but the ratios, modifiers, and priorities shift hard depending on what's in frame.
Fashion commercials lean toward larger, softer key sources (big octaboxes or diffusion frames) to flatter skin and fabric texture, often with a stronger rim to define garment silhouette against the background. Movement matters here too. Fabric in motion needs enough output headroom to freeze it, which pushes some fashion sets back toward strobe even when the rest of the shoot runs on continuous LEDs.
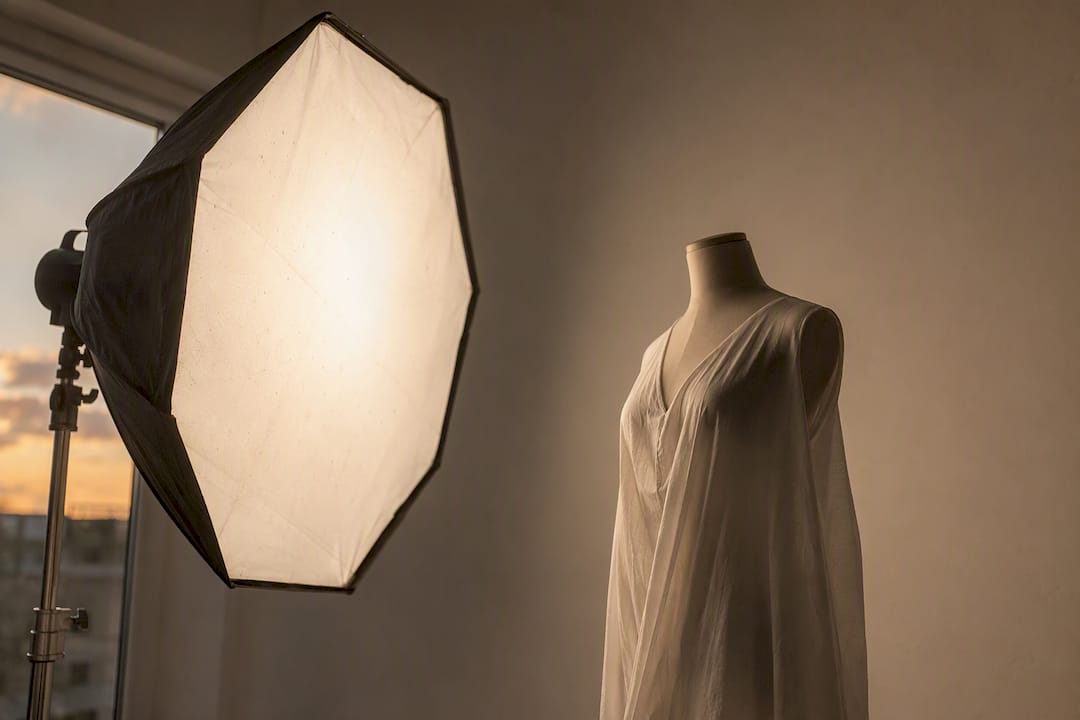
Food commercials favor harder, more directional light to bring out texture (steam, glaze, crumb structure) that flat, even lighting would erase. Backlighting is common to make steam or liquid pours glow, paired with negative fill (black cards) opposite the key to deepen shadow and add dimension to close-up product shots.
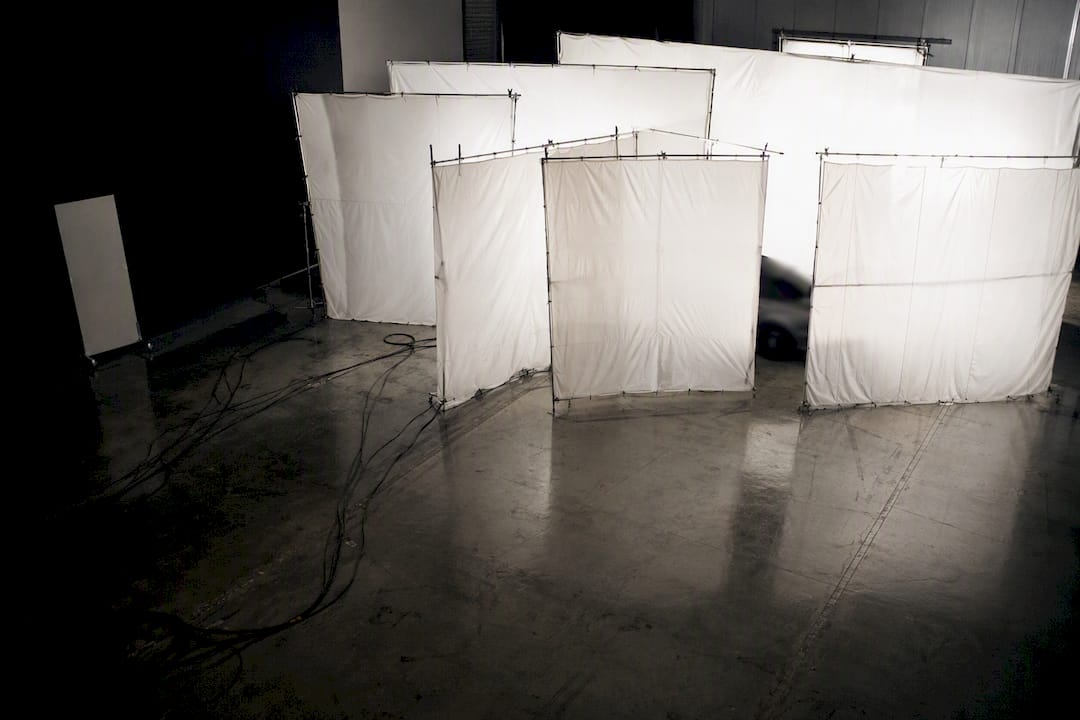
Automotive work is its own discipline entirely. Reflection control dominates every decision since a car's paint and glass will mirror every light, flag, and crew member in frame unless the entire set is built around large diffusion panels or a light tent. Automotive DPs often build a "light tunnel" of overlapping diffusion frames specifically so the reflections read as clean gradients instead of visible studio equipment.
Shaping Shadows and Highlights for Commercial Impact
Shadow and highlight control is really about deciding what the eye should notice first. A hard shadow with a crisp edge reads as tension or drama, useful for automotive and some fashion work; a soft, barely-there shadow reads as approachable and premium, the default for beauty and lifestyle spots.
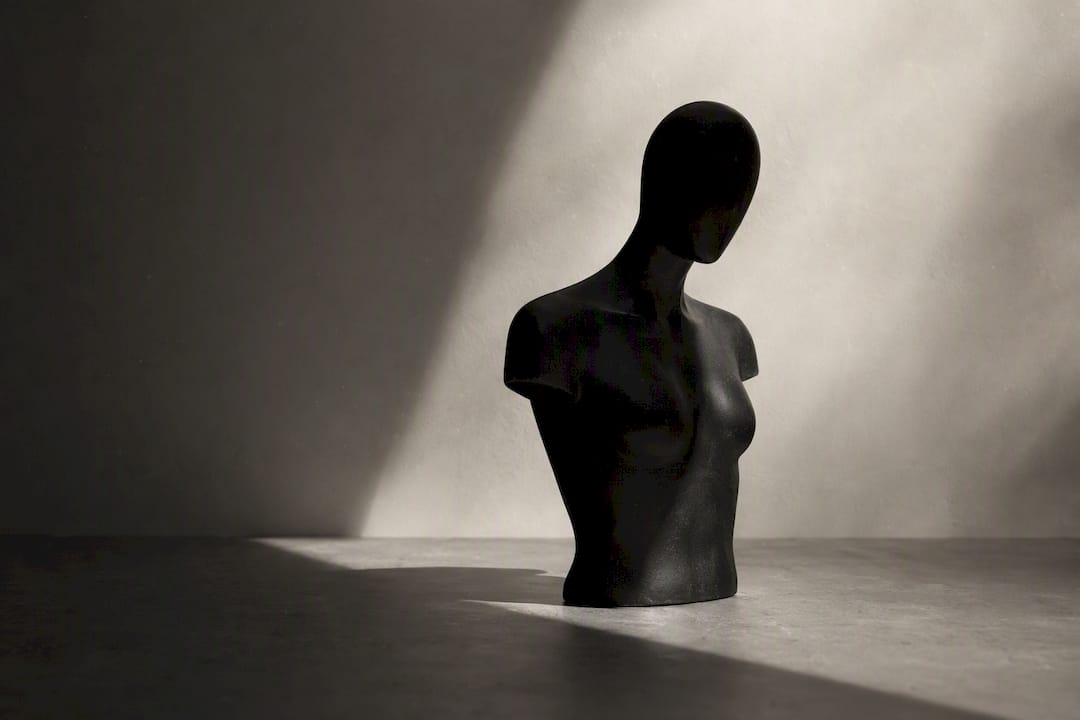
Negative fill, black flags or foam core placed opposite your key, deepens shadows without adding a light, which is often the fastest way to add dimension to a flat-looking product shot. Flagging spill off the background keeps a subject's shadow from stretching visibly behind them, a common giveaway of an amateur setup.
Highlights need equal attention. Blown highlights on skin or product read as a lighting mistake, not a stylistic choice, unless you're deliberately overexposing for a high-key look. Feathering the key light, aiming its edge rather than its center at the subject, softens the highlight falloff without sacrificing overall brightness, a small adjustment that separates a lot of professional work from amateur setups using the same equipment.
What Most Lighting Advice Gets Backwards
Most guides treat lighting setups as fixed recipes to memorize. That's backwards for agency production work, where the constraint is rarely "what does great light look like" and almost always "how fast can we rebuild this between six different shots on one call day." A gorgeous three-point setup that can't survive a lens change without a twenty-minute reset is a liability on a commercial floor, not an achievement.
The conventional wisdom also overweights strobe power and underweights output headroom on continuous fixtures. Most interior commercial work doesn't actually need strobe-level output. It needs a source big enough and diffused enough to survive multiple camera positions without moving. Crews that default to strobe out of habit often end up rebuilding lighting for every new angle when a single large continuous source would have covered the whole sequence.
Prioritize workflow durability over lighting perfection in any single frame. A setup that holds up across fifteen shot variations beats one that looks flawless in isolation but collapses the schedule.
— Steven Reina
When to Bring in a Production Partner for Lighting-Heavy Shoots
Some commercial productions outgrow a single photographer with a lighting kit, especially once the deliverable list stretches across hero video, social cutdowns, and a full stills package from one call day. MINIM steps in exactly at that point, integrating directly with an agency's existing creative team to handle everything from lighting design through final delivery without the agency having to staff up internally for one production.

The signals are usually obvious before the shoot even starts: multiple deliverables from one lighting setup, a schedule too tight to allow for lighting resets between setups, or a hybrid photo-and-video requirement that demands the kind of workflow planning most in-house teams don't run often enough to have refined. MINIM builds that planning into pre-production, from lighting diagrams through shot lists, so the crew arrives already knowing which setup survives which camera move.
If a lighting-heavy commercial is on your production calendar and the internal team is stretched thin, review MINIM's production services and reach out to scope the shoot before the schedule gets locked. Getting lighting planning right at the concept stage, rather than fixing it on set, is the difference between a smooth call day and an expensive one.
Sources
For deeper technical grounding, review the fundamentals of hard versus soft light and current continuous LED options built for professional output. On the planning side, MINIM's guides to shot lists and storyboarding for commercials help translate a lighting plan into a workable call day, and 3D product rendering is worth a look when studio photography needs a CGI assist.
- Mastering Lighting Techniques for Commercial Photography: Expert Insights for Pro-Level Results
- Best LED and continuous lights 2026
- The Case for Continuous: One Lighting Setup, Two Deliverables - Adorama
- Choosing between hard light and soft light for commercial beauty shots